

A good property inspection takes about forty minutes for a two-bedroom flat. A bad one takes fifteen, and you pay for the missing twenty-five when the tenant moves out and nobody can prove what the worktop looked like. This property inspection checklist exists to put those twenty-five minutes back into the visit.
This property inspection checklist follows the order we would walk a rented flat or house in. It works for routine visits, check-ins and check-outs. Use it as it is, or copy the parts you need into your own template. If you manage commercial buildings, our building inspection software guide is the better starting point.
- Walk the same route every time. Front door, clockwise through each room, then outside. A fixed route is how you stop skipping the cupboard under the stairs.
- Photograph the room first, then the faults. One wide shot from the door, then close-ups with something for scale.
- Write what you see, not what you think. “Brown stain, 20 cm, ceiling above window” is useful. “Possible leak” is an argument waiting to happen.
Before you start the property inspection checklist
Most of the mistakes in an inspection are made before anyone opens the door. Take five minutes to check three things.
- The last report. Read it. You are looking for change, and you cannot see change without the baseline.
- Open repairs. If a dripping tap was reported in March, the first thing to check is whether it still drips.
- Access and notice. Notice periods for entering a rented home differ from country to country. Check the rule that applies to you and keep a record that you gave it.
Entrance and hallway
- Front door: does it close and lock without force? Check the frame for splits near the lock.
- Keys, fobs and intercom: count them and test them.
- Smoke alarm: press the test button. Note the date on the unit if it has one.
- Flooring: lifted edges and worn thresholds are trip hazards as well as wear.
- Meter cupboard: take the readings and photograph them. Look for scorch marks around the fuse board.

Kitchen
Kitchens produce more deposit disputes than any other room, mostly about things that were never photographed at the start.
- Worktops: chips, burns and swollen joints near the sink. A swollen joint means water has been getting in for months.
- Under the sink: open the cupboard, move the bottles, look at the base. Staining or a soft floor panel is a slow leak.
- Appliances: turn each one on. Oven, hob rings one by one, extractor, fridge seal, freezer drawers.
- Sealant and tiles: black sealant behind the sink is normal wear. Missing sealant is a repair.
- Cupboards: hinges and drawer runners. Open every door. It takes thirty seconds.
Bathroom
- Run the hot tap until it is hot. Time it if it seems slow, and write the number down.
- Flush the toilet and watch the base. A damp ring on the floor is the thing to photograph.
- Check sealant around the bath and shower tray. Press the wall tiles next to it. Movement or a hollow sound means water behind them.
- Extractor fan: hold a sheet of toilet paper to it. If the paper does not stick, the fan is not extracting, and the mould on the ceiling has its explanation.
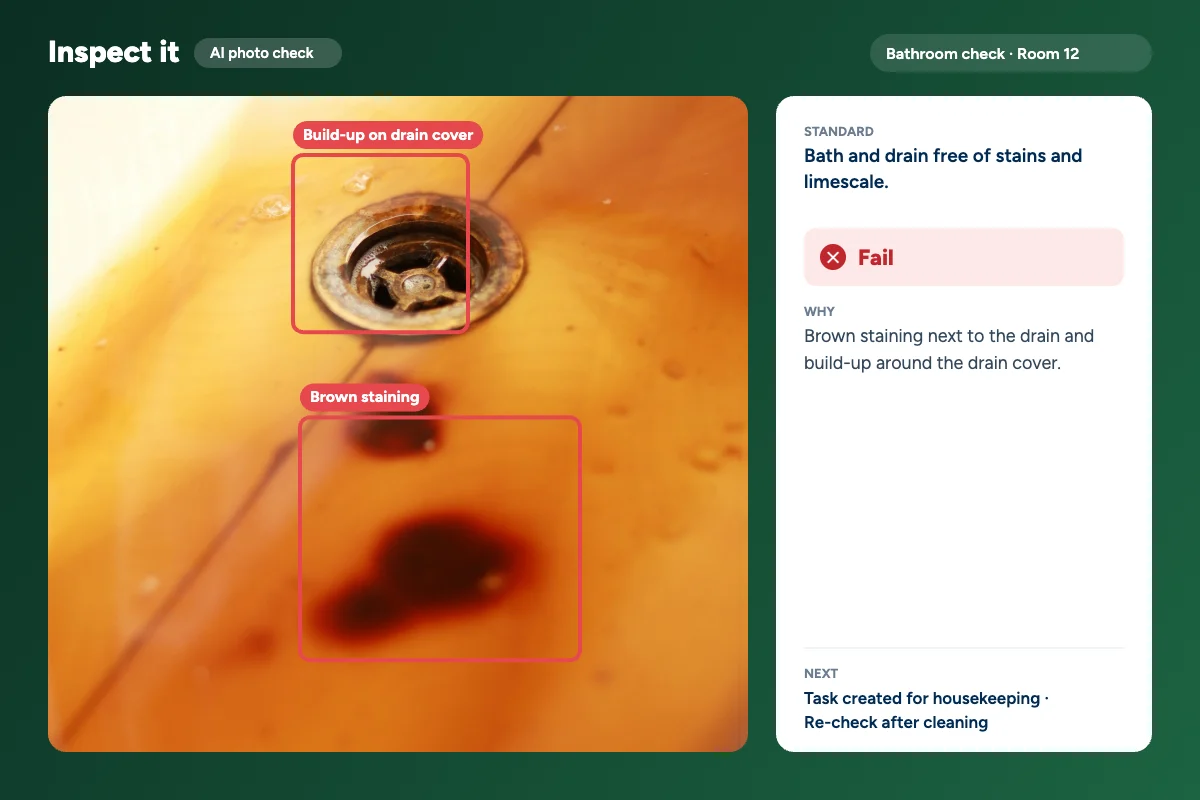
- Ceiling and corners: record mould with a photo and a rough size. Do not write the cause unless you know it.
See it on one of your own buildings
Run one real inspection with us and get the finished report before the call ends.
Living room and bedrooms
- Walls: marks, holes from fixings, and any crack wider than a couple of millimetres. Put a coin next to cracks in the photo so next time you can see whether they have grown.
- Windows: open and close each one. Check locks, handles and the seal. Condensation between the panes means the unit has failed.
- Behind furniture: ask before you move anything, then look. Outside walls behind wardrobes are where damp hides.
- Flooring: stains, burns and lifted laminate. Note the location, not just “carpet stained”.
- Radiators: warm at the top and bottom? Rust at the valves?
- Sockets and switches: cracked plates and scorch marks are safety items. Flag them the same day.
Outside, balcony and shared areas
- Gutters and downpipes: staining on the wall below a joint tells you where it overflows.
- Balcony: rail fixings, drainage outlet, and anything stored that should not be there.
- Garden and paths: trip hazards, fences, and trees touching the building.
- Bins and storage: a quick photo saves a long email thread later.
What to photograph, and how
| Shot | Why it matters |
|---|---|
| Wide shot of every room from the door | Shows overall condition and proves you were in the room |
| Close-up of each fault with a coin or tape measure | Gives the size, which is the first thing anyone will ask |
| Meter readings and serial numbers | Ends billing arguments before they begin |
| Things that are fine but often disputed: oven, carpets, worktops | The absence of damage is evidence too |
Date and time should be recorded by the device, not typed in afterwards. This is one of the plain advantages of doing the inspection in an app. We compared the two approaches honestly in paper vs digital inspections.
After the visit: the part most people skip
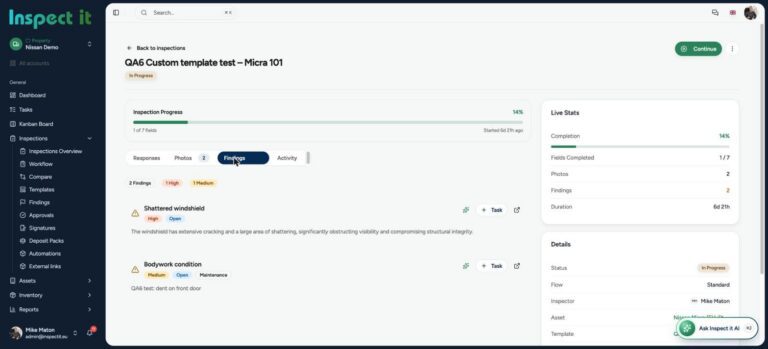
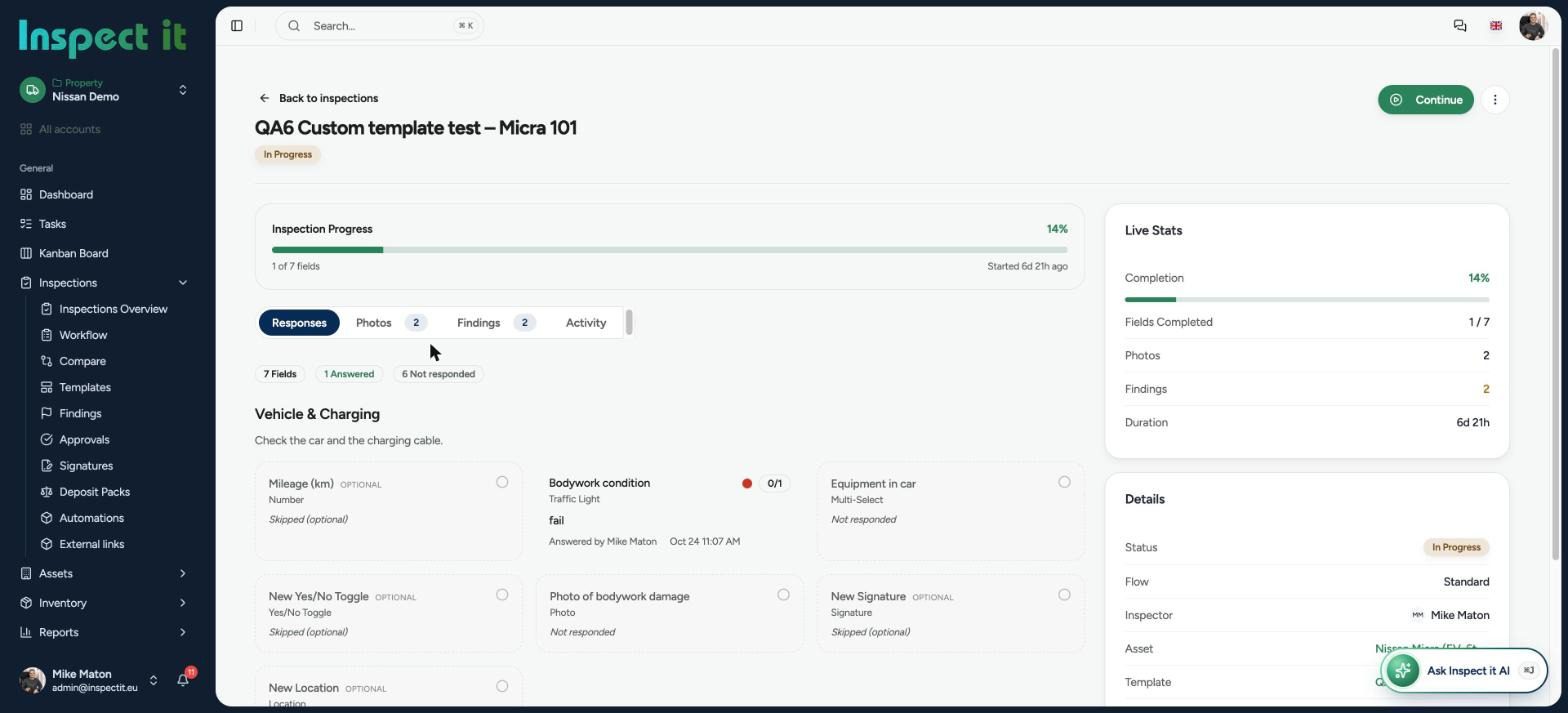
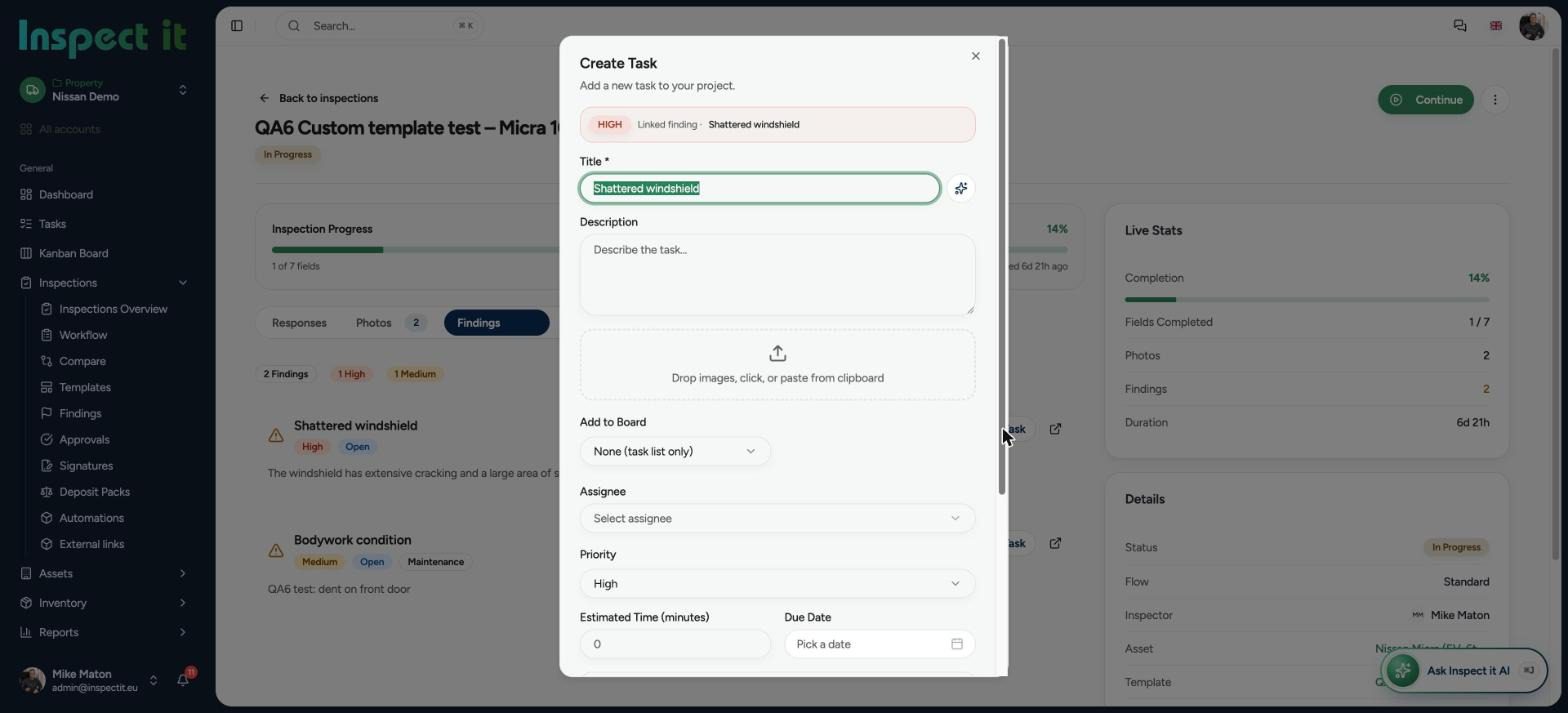
An inspection that finds a leaking trap and produces a PDF has not fixed anything. Every finding needs three things attached to it: an owner, a due date and a way to prove it was done. If your report does not lead to a list of jobs, it will be read once and filed.
That gap between report and repair is the reason we built Inspect it the way we did. Findings from the inspection become tasks on a board, with the photo attached, and they stay open until someone closes them with a new photo. You can see how that works on the features and tools page, or read the longer explanation in our guide to snagging and defect management.
Where software helps, and where it does not
Software will not smell damp or notice that a door has dropped on its hinges. A person does that. What software does well is the boring part: the same checklist every time, photos stored against the right room, a report produced without an evening of typing, and a comparison with the last visit. We have written about what AI actually catches in inspection photos, including the things it misses.
If you want a ready-made property inspection checklist to start from, Inspect it has a library of more than 900, and you will find a selection on our property inspection page.
Free checklist templates
Print these or run them in Inspect it:
Frequently asked questions
How long should a property inspection take?
Allow 30 to 45 minutes for a two-bedroom flat and about an hour for a house. A first inspection or a check-in takes longer because you are building the baseline that every later visit is compared with.
How often should a rental property be inspected?
Many landlords and managers inspect every three to six months, with a full check-in and check-out at the start and end of each tenancy. Check what your tenancy agreement and local rules allow.
What should be included in a property inspection report?
The date, the address, who was present, a condition note and photos for each room, meter readings, a list of faults with their location and size, and the action agreed for each fault.
Can I do a property inspection on my phone?
Yes. A phone is enough to follow a property inspection checklist, take dated photos and produce a report on site. The important part is that photos are stored against the right room and that each fault becomes a tracked task.
See it on one of your own buildings
Run one real inspection with us and get the finished report before the call ends.