

Almost every deposit dispute comes down to one question: what did it look like on the day they moved in? If you cannot answer that with a dated photo, you have already lost the argument, whoever was right. A proper move-in and move-out inspection gives you that photo.
The move-in inspection and the move-out inspection are really one job done twice. The first creates the evidence. The second compares against it. This guide covers both, in the order you will do them, and it is written for landlords, letting agents and property managers who would rather not spend January arguing about a carpet.
- Same template both times. If the check-in and check-out use different forms, comparing them takes hours.
- The tenant signs the check-in. An unsigned report is your opinion. A signed one is an agreed record.
- Wear is not damage. A faded carpet after four years is wear. A burn mark is damage. Know the difference before you deduct anything.
Why the move-in report matters more
People put their effort into the move-out inspection because that is when money is at stake. It is the wrong way round. A move-out report can only prove a change, and a change needs a starting point. A thin check-in with six photos and the words “good condition throughout” protects nobody.
Deposit rules, and who decides a dispute, differ between countries. What does not differ is what the decision-maker asks to see: the agreed condition at the start, the condition at the end, and something that connects the two.
The move-in inspection, step by step
1. Do it before the furniture arrives
An empty room shows everything. Once the sofa is in, the wall behind it is invisible for two years. If you can, inspect on the day of key handover, before anything is carried through the door.
2. Go room by room with a fixed list
Walls, ceiling, floor, windows, doors, fittings, then the contents. The same order in every room. Our room-by-room property inspection checklist gives you the full list.
3. Describe condition in plain words
Avoid “good” and “fair” on their own. They mean different things to different people. Write what is there: “two picture hooks, left wall”, “scuff 30 cm above skirting by door”, “oven clean, no residue”. It takes a little longer and it removes most of the arguments.
4. Photograph more than you think you need
For a two-bedroom flat, 80 to 120 photos is normal. Wide shot of each room, each wall, the floor, then every mark. Photograph the things that are in perfect condition too, especially the oven, the worktops, the bath and the carpets. Those are the four items most often disputed.

5. Record the readings and the keys
Electricity, gas and water readings with a photo of each meter. The number of keys, fobs and remote controls handed over. It is dull, and it is the part people most often forget.
6. Get it signed
Send the report to the tenant the same day and give them a few days to add comments. Their additions make your report stronger, because the final document is one both sides agreed to.
See it on one of your own buildings
Run one real inspection with us and get the finished report before the call ends.
The move-out inspection, step by step
1. Open the move-in report first
Walk the property with the check-in report open, room by room. You are not describing the flat from scratch. You are answering one question in each room: what has changed?
2. Take the same photos from the same places
A photo of the same wall from the same doorway is far more convincing than a new angle. If your software shows the earlier photo next to the camera, use that. If you are on paper, print the check-in photos and carry them.
3. Separate cleaning, damage and wear
| What you find | Usually counts as | What to record |
|---|---|---|
| Carpet flattened in walkways after several years | Fair wear | Note it, no charge |
| Iron burn on carpet | Damage | Photo with scale, location, check-in photo of same area |
| Grease in the oven | Cleaning | Photo, compared with the clean oven at check-in |
| Small nail holes from pictures | Often fair wear, depends on the agreement | Count and location |
| Limescale on taps and shower screen | Cleaning | Photo |
| Faded paint near a window | Fair wear | Note it |
The length of the tenancy matters. So does the number of people living there. A family of four over five years will leave more wear than one person over twelve months, and a fair assessment allows for that.
4. Agree it on the day if you can
Invite the tenant to the move-out inspection. Walking through together, with both reports in front of you, settles most points in the room. The ones that are not settled are at least clearly defined.
Comparing the two reports
This is where paper becomes painful. Two documents, two sets of photos in two folders, and someone turning pages to find the same wall. It is the single strongest reason to do both inspections in the same system, on the same template, so each item at check-out sits next to the same item at check-in.
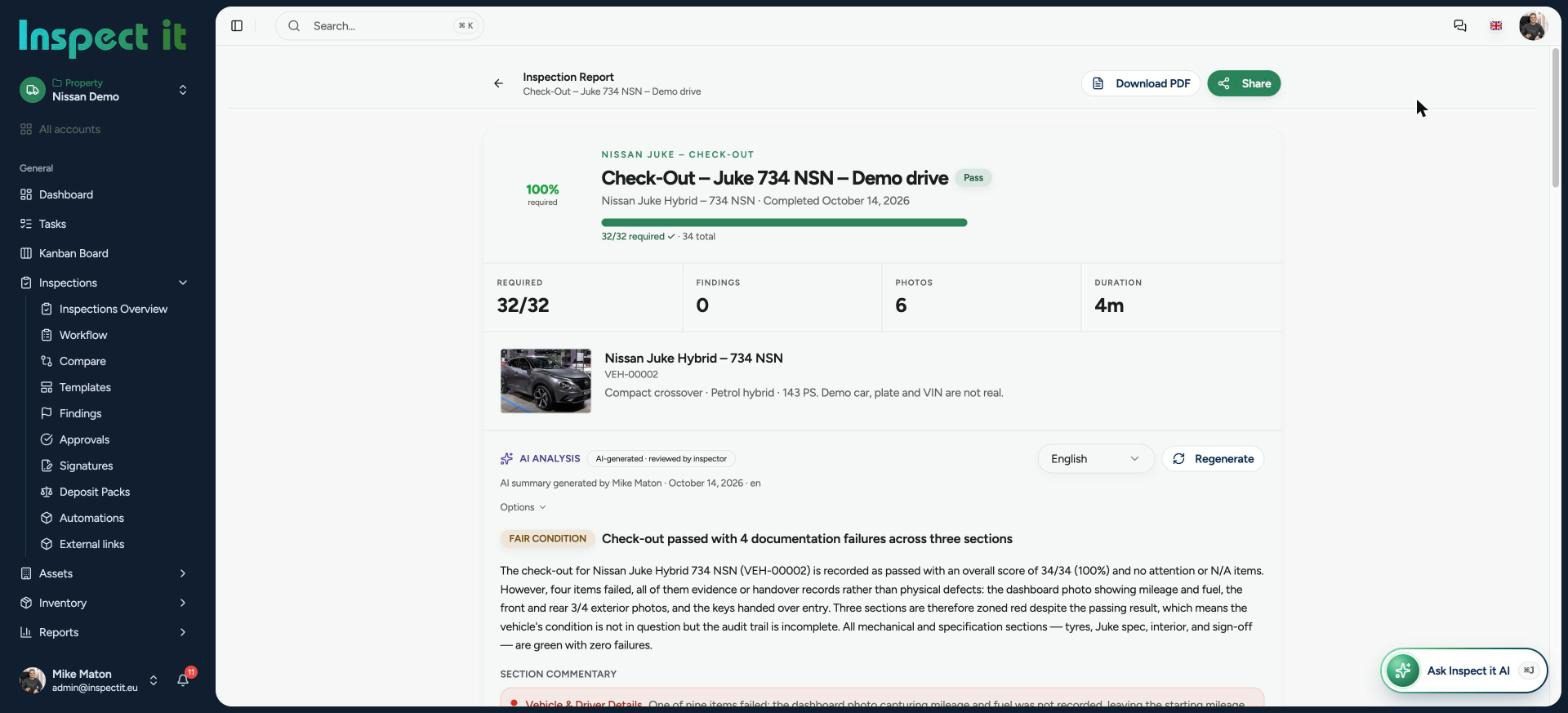
In Inspect it, the report is written for you from what you recorded on site, and anything that needs fixing becomes a task with an owner and a due date. If you are still deciding whether to move off paper, we laid out the costs on both sides in paper vs digital inspections. For a broader view of what this kind of software does, see the building inspection software guide.
Five mistakes that lose disputes
- No check-in report at all. More common than you would think, especially with long-standing tenants.
- Photos without dates. A photo that cannot be dated proves very little.
- Vague wording. “Some marks to walls” could describe any flat in Europe.
- Charging new for old. A six-year-old carpet was not worth the price of a new one. Deductions should reflect age.
- Waiting weeks to do the check-out. Inspect on the day the keys come back. After that, anything could have happened and everyone knows it.
None of this is difficult. It is just easy to rush. Forty careful minutes at the start of a tenancy saves a lot of correspondence at the end.
Free checklist templates
Print these or run them in Inspect it:
Frequently asked questions
What is the difference between a move-in and a move-out inspection?
A move-in inspection records the agreed condition of the property at the start of a tenancy. A move-out inspection records the condition at the end and compares it with the move-in report to identify changes beyond fair wear.
Should the tenant be present at the inspection?
It is best practice to invite the tenant to both. At move-in they can add comments and sign the report. At move-out most points can be agreed on the spot, which avoids later disputes.
What counts as fair wear and tear?
Fair wear is the gradual deterioration that comes from normal use over time, such as faded paint, worn carpet in walkways and minor scuffs. Burns, stains, holes and breakages caused by carelessness count as damage.
How many photos should a move-in inspection include?
For a two-bedroom flat, 80 to 120 dated photos is typical: a wide shot of each room, each wall and floor, every existing mark, and the items most often disputed such as the oven, worktops, bath and carpets.
See it on one of your own buildings
Run one real inspection with us and get the finished report before the call ends.